How to Prep for Sod Installation
Have you ever wondered if there's a foolproof way to prepare your yard for sod installation?
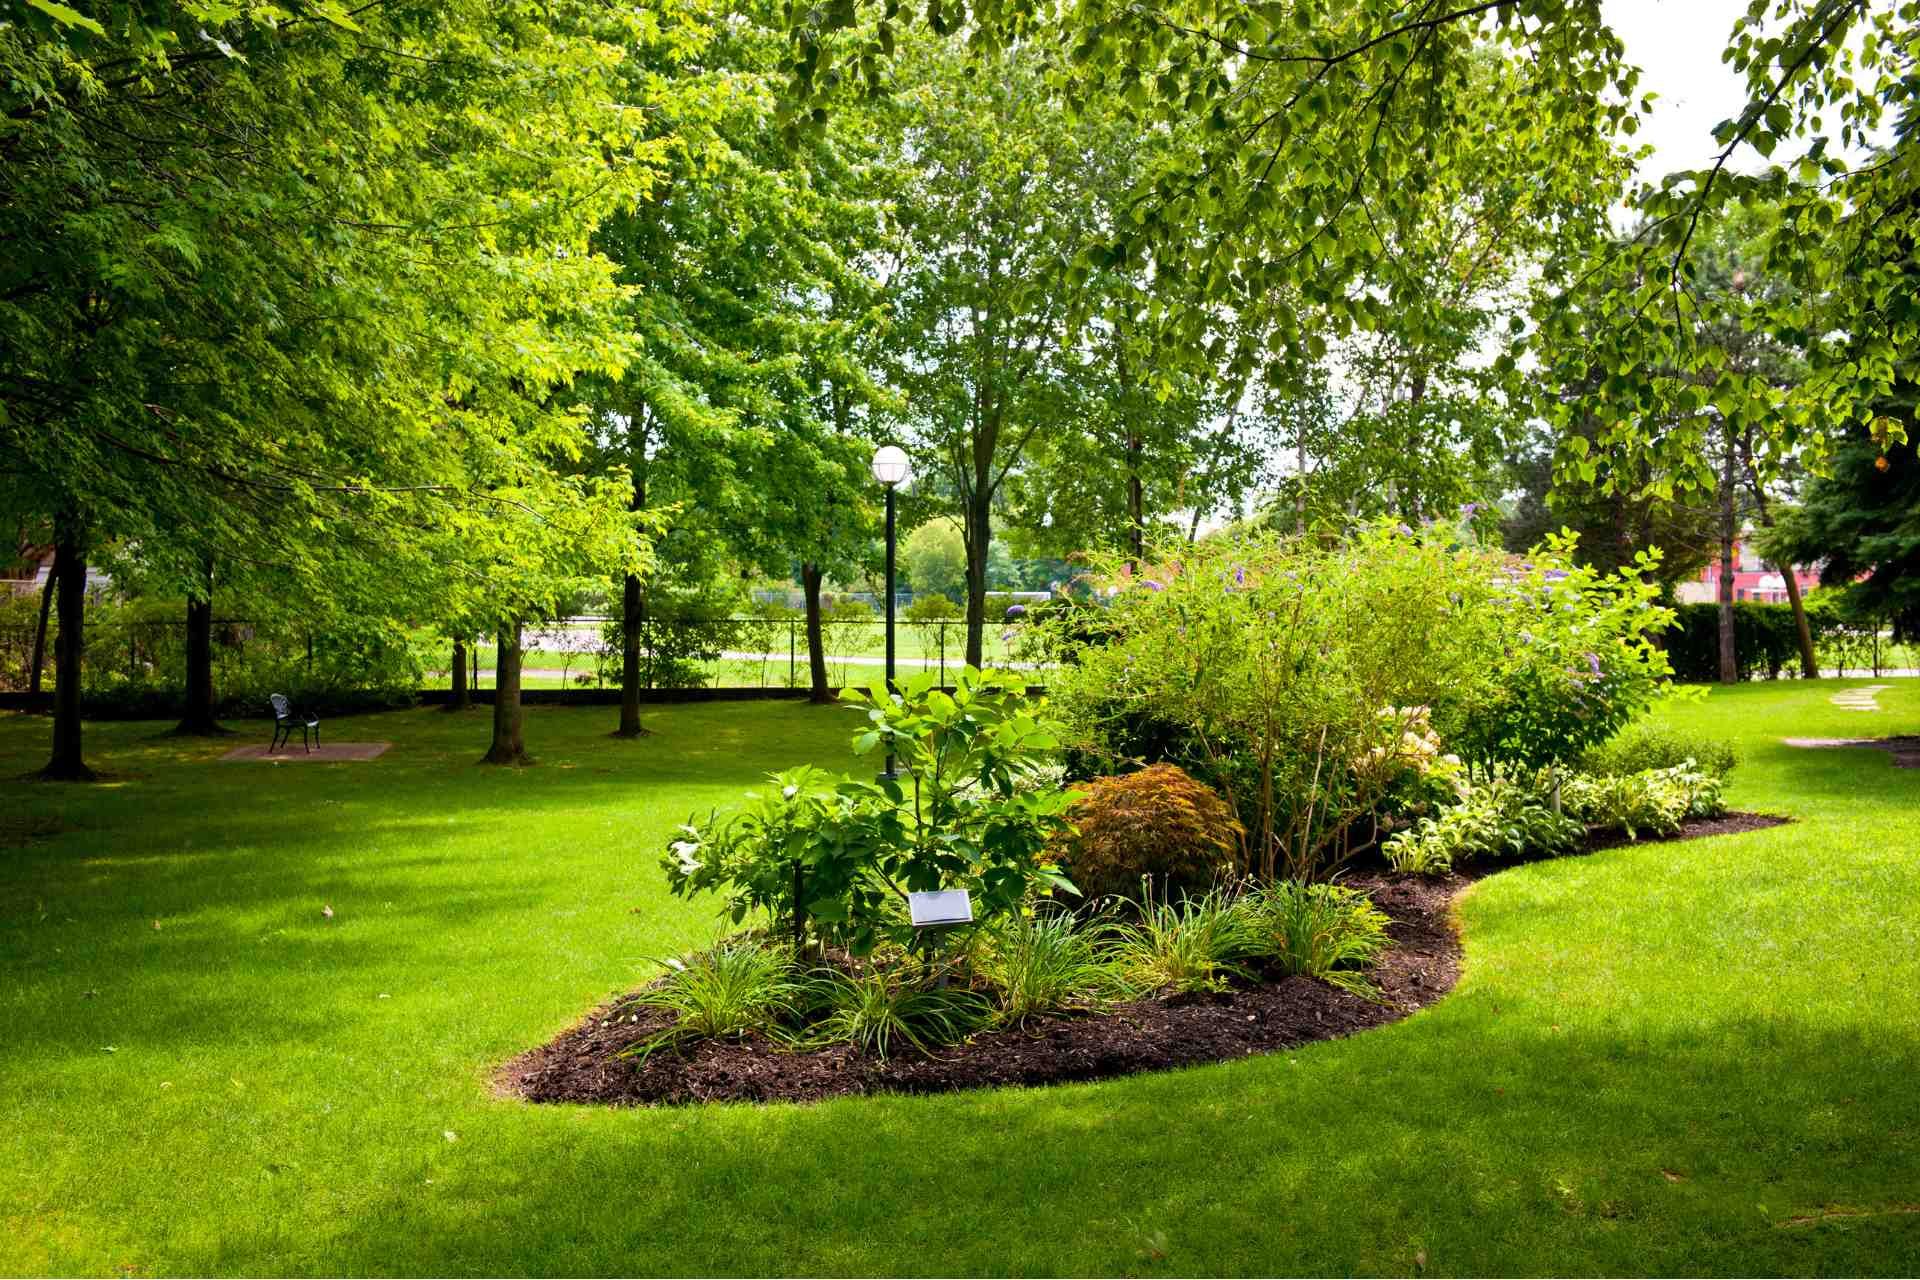
Sod installation can be an exciting project that transforms your outdoor space instantly. Whether you're looking to upgrade your lawn or starting from scratch, preparing for sod installation is key to ensure its success and longevity. Proper preparation will help create a favorable environment for the sod to take root, resulting in a lush and healthy lawn. So, before you dive into the process, here are some essential steps to help you how to prep for sod installation.

Clear the Area
Begin by clearing the area where you plan to install the sod. Remove any existing vegetation, including grass, weeds, and debris. Make sure to eliminate the roots of any persistent weeds, as they can compete for nutrients and hinder the growth of your new sod.
Test the Soil
Testing the soil is vital to determine its pH level and nutrient content. Take samples from different areas of your lawn and send them to a local soil testing lab. Based on the results, you can adjust the soil pH or enrich it with necessary nutrients such as fertilizer, lime, or organic matter. This step will ensure that your new sod gets the ideal soil conditions it needs to flourish.
Proper Grading
Achieving proper grading is crucial to prevent future drainage problems. Ideally, you want the soil to slope away from your home to avoid water accumulation. Use a rake or shovel to level the ground, fill any low spots, and eliminate high areas. Aim for a smooth and even surface to guarantee an even sod installation.
Irrigation and Drainage
Before laying down the sod, evaluate your irrigation system and ensure that it is functioning properly. Consider installing sprinklers or optimizing your existing system to provide sufficient water coverage to the new sod. Additionally, check for any drainage issues in your yard. If necessary, address them by creating trenches or installing drains to prevent waterlogging that can damage the sod.
Amend the Soil
Once your soil is tested and graded correctly, consider adding amendments to enhance its quality further. Add compost, organic matter, or topsoil to boost the soil's fertility. These additions will provide additional nutrients and improve the retention of moisture necessary for the establishment of your sod.
Final Preparations
Before sod installation day arrives, make sure you have gathered all the necessary tools and materials. These might include a sod cutter or edger, irrigation supplies, fertilizers, and of course, the sod rolls themselves. Ensure that you have measured the dimensions accurately and ordered the required amount of sod. Communicate with a reputable sod provider to schedule delivery, ideally on the same day as installation to keep the sod fresh.
Timing is Essential
Timing plays a significant role in sod installation success. Try to plan it for a time when the weather is mild – neither too hot nor too rainy. This way, the sod will have enough time to root firmly before facing any extreme conditions. Avoid installing sod during periods of drought or excessive heat, as it might increase its chances of failure.
Tips for Laying Sod
1. Prepare the ground - Proper preparation of the soil is crucial to the success of your sod installation. Begin by removing any existing grass, rocks, debris, or weeds from the area. Next, till the soil to a depth of at least 6 inches to loosen it and remove any compaction. Ensure the area is level and slope it away from any buildings to prevent water pooling. Finally, add organic matter, such as compost, to improve the soil's quality and drainage.
2. Timing - It is important to lay sod during the right season and weather conditions for optimal growth. The best time to install sod is during the moderate temperatures of spring or fall. Avoid laying sod in extreme heat or cold, as it can stress the grass and affect its establishment. Additionally, choose a day with mild weather and clear skies to minimize stress on the sod and aid in its ability to quickly root and establish in the soil.
3. Order the right amount - To ensure you have enough sod to cover your desired area, accurately measure the dimensions of your lawn. Calculate the square footage and order about 5-10% more sod than you think you will need to account for trimming and any potential waste. Ordering the correct amount will save you from running short and having visible gaps in your new lawn.
4. Watering - Proper and consistent watering is crucial for the success of your newly laid sod. Immediately after installation, saturate the sod with water to a depth of at least 6 inches. This initial watering is important to establish good soil-to-sod contact and promote rooting. During the following weeks, water your sod regularly, ensuring it remains consistently moist but not waterlogged. Gradually reduce the frequency of watering as the grass roots grow deeper into the soil.
5. Fertilizing and mowing - After the sod has been laid for about a month, it is time to apply a slow-release fertilizer to promote healthy growth and a vibrant lawn. Follow the manufacturer's instructions and avoid over-fertilization, which can burn the grass. As for mowing, wait until the sod has rooted well and reached a height of around 3-4 inches before performing the first mow. Set your mower blades to the highest setting and only cut off the top third of the grass blades to prevent scalping and encourage strong root development.
6. Limit foot traffic - While your new sod is establishing itself, it is essential to minimize foot traffic and avoid any heavy equipment or machinery on the lawn. Foot traffic can damage the young grass and impede its rooting process. To keep your new lawn looking its best, try to limit any activity on the sod for the first few weeks after installation.
Contact Lone Oak Lawns for sod installation
Don't waste any more time struggling with patchy grass and unsightly bare spots.
Contact Lone Oak Lawns today and watch as they transform your lawn into a stunning oasis that you can proudly call your own. Say goodbye to the hassle of seeding and hello to a beautiful, vibrant lawn that will make your neighbors green with envy.