Sod Installation for Sloped or Uneven Lawns
Installing sod on sloped or uneven lawns can be a tricky task, but with the right approach, you can achieve a lush, green yard. You need to understand the unique challenges these terrains present and how to prepare properly. It’s essential to choose the right type of sod that can thrive under such conditions. Let’s explore the crucial steps to ensure your sod installation is successful and long-lasting.
Understanding the Challenges of Sloped Lawns
When you tackle a sloped lawn, you’ll quickly realize the unique challenges it presents. Gravity's always working against you, making soil erosion a serious concern. Water tends to run off, leaving bare patches and uneven growth.
You might also find it tricky to maintain proper drainage, which can lead to puddles or dry spots. Mowing becomes a workout, as navigating inclines can be tough on your equipment and your back.
Additionally, the sunlight exposure can vary across the slope, affecting your grass’s health. All these factors mean you need to approach sod installation with a tailored strategy, ensuring your new lawn thrives despite the slope's natural challenges.
Understanding these issues is crucial for a successful outcome.
Preparing Your Lawn for Sod Installation
Addressing the unique challenges of a sloped lawn starts with proper preparation for sod installation. First, clear the area of any debris, rocks, or old grass to create a clean slate.
Next, grade the soil to improve drainage and ensure water flows away from your home’s foundation. You might need to add topsoil to fill in low spots and create a smooth surface.
Compact the soil to prevent settling, and consider installing a retaining wall if the slope is steep.
Finally, test the soil's pH and nutrient levels, adjusting as necessary to promote healthy sod growth.
With these steps, you'll set the stage for a successful sod installation that thrives on your sloped lawn.
Choosing the Right Type of Sod
Selecting the right type of sod is crucial for ensuring your sloped lawn thrives, especially since different grass varieties have varying tolerances to sunlight, moisture, and soil conditions.
Start by assessing your lawn's exposure; if it’s mostly sunny, consider warm-season grasses like Bermuda or Zoysia. For shaded areas, fescue or shade-tolerant bluegrass might be better options.
Next, think about your soil type. Sandy soils drain quickly, so look for drought-resistant varieties, while clay soils may require grasses that can handle wet conditions.
Also, consider your climate; some grasses perform better in humid areas, while others thrive in dry conditions. By matching the grass type to your lawn's specific needs, you’ll set the stage for a healthy, resilient landscape.
Techniques for Leveling Uneven Terrain
Even with the right type of sod, uneven terrain can hinder your lawn's growth and aesthetics.
To tackle this issue, you can start by identifying the low and high spots in your yard. Use a shovel or rake to remove excess soil from the high areas and distribute it to fill in the low spots. If necessary, add topsoil to create a more even surface.
For larger uneven areas, consider using a leveling tool or a landscape rake to get a smooth finish. After leveling, compact the soil lightly to prevent settling.
Finally, water the area to help the soil settle and prepare it for sod installation. With these techniques, you’ll create a solid foundation for your new lawn.
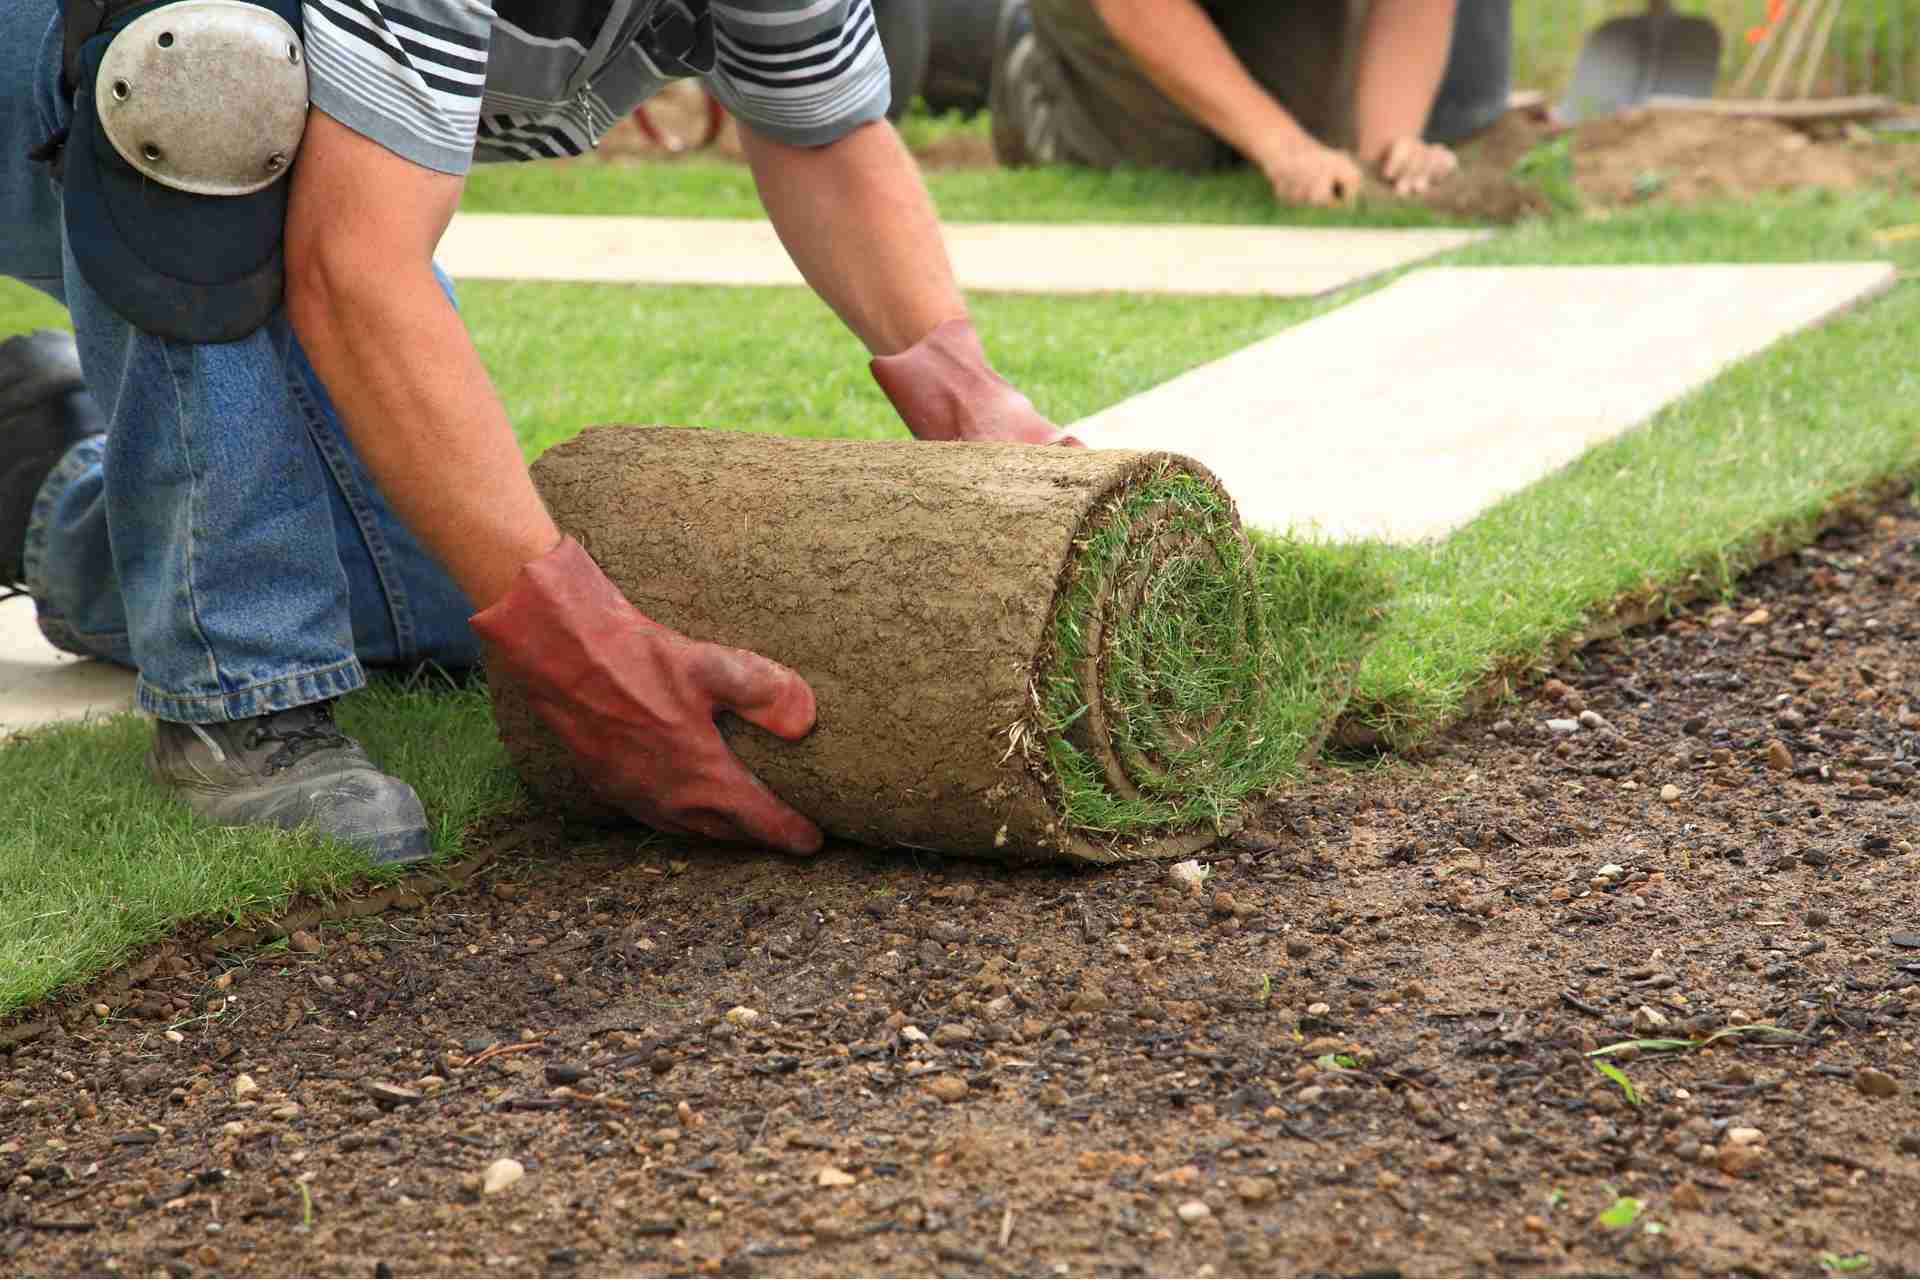
Installing Sod on Slopes: Step-by-Step Guide
When you're ready to install sod on a slope, it’s essential to prepare the area properly to ensure successful growth. Start by clearing the slope of debris, rocks, and weeds.
Next, loosen the soil using a rake or shovel, ensuring it's at least 2-3 inches deep. Level the surface as much as possible, creating a smooth base for the sod.
After that, lay the sod pieces horizontally across the slope, staggering the seams to prevent erosion. Press each piece down firmly to eliminate air pockets and ensure good contact with the soil.
Finally, trim any excess sod along the edges to fit the slope's contours. With this method, you’ll set your new sod up for success.
Watering and Maintaining Your New Sod
Once your sod is installed on the slope, the next step is proper watering and maintenance to help it establish strong roots.
Start by watering your new sod deeply within the first few days. Aim for about an inch of water daily, focusing on the roots rather than the blades.
As the sod begins to take root, gradually reduce watering to every other day, then to twice a week. Be sure to check the soil moisture by lifting a corner of the sod; it should feel damp but not soggy.
Keep an eye on your sod for signs of stress, like browning or wilting, and adjust your watering schedule accordingly.
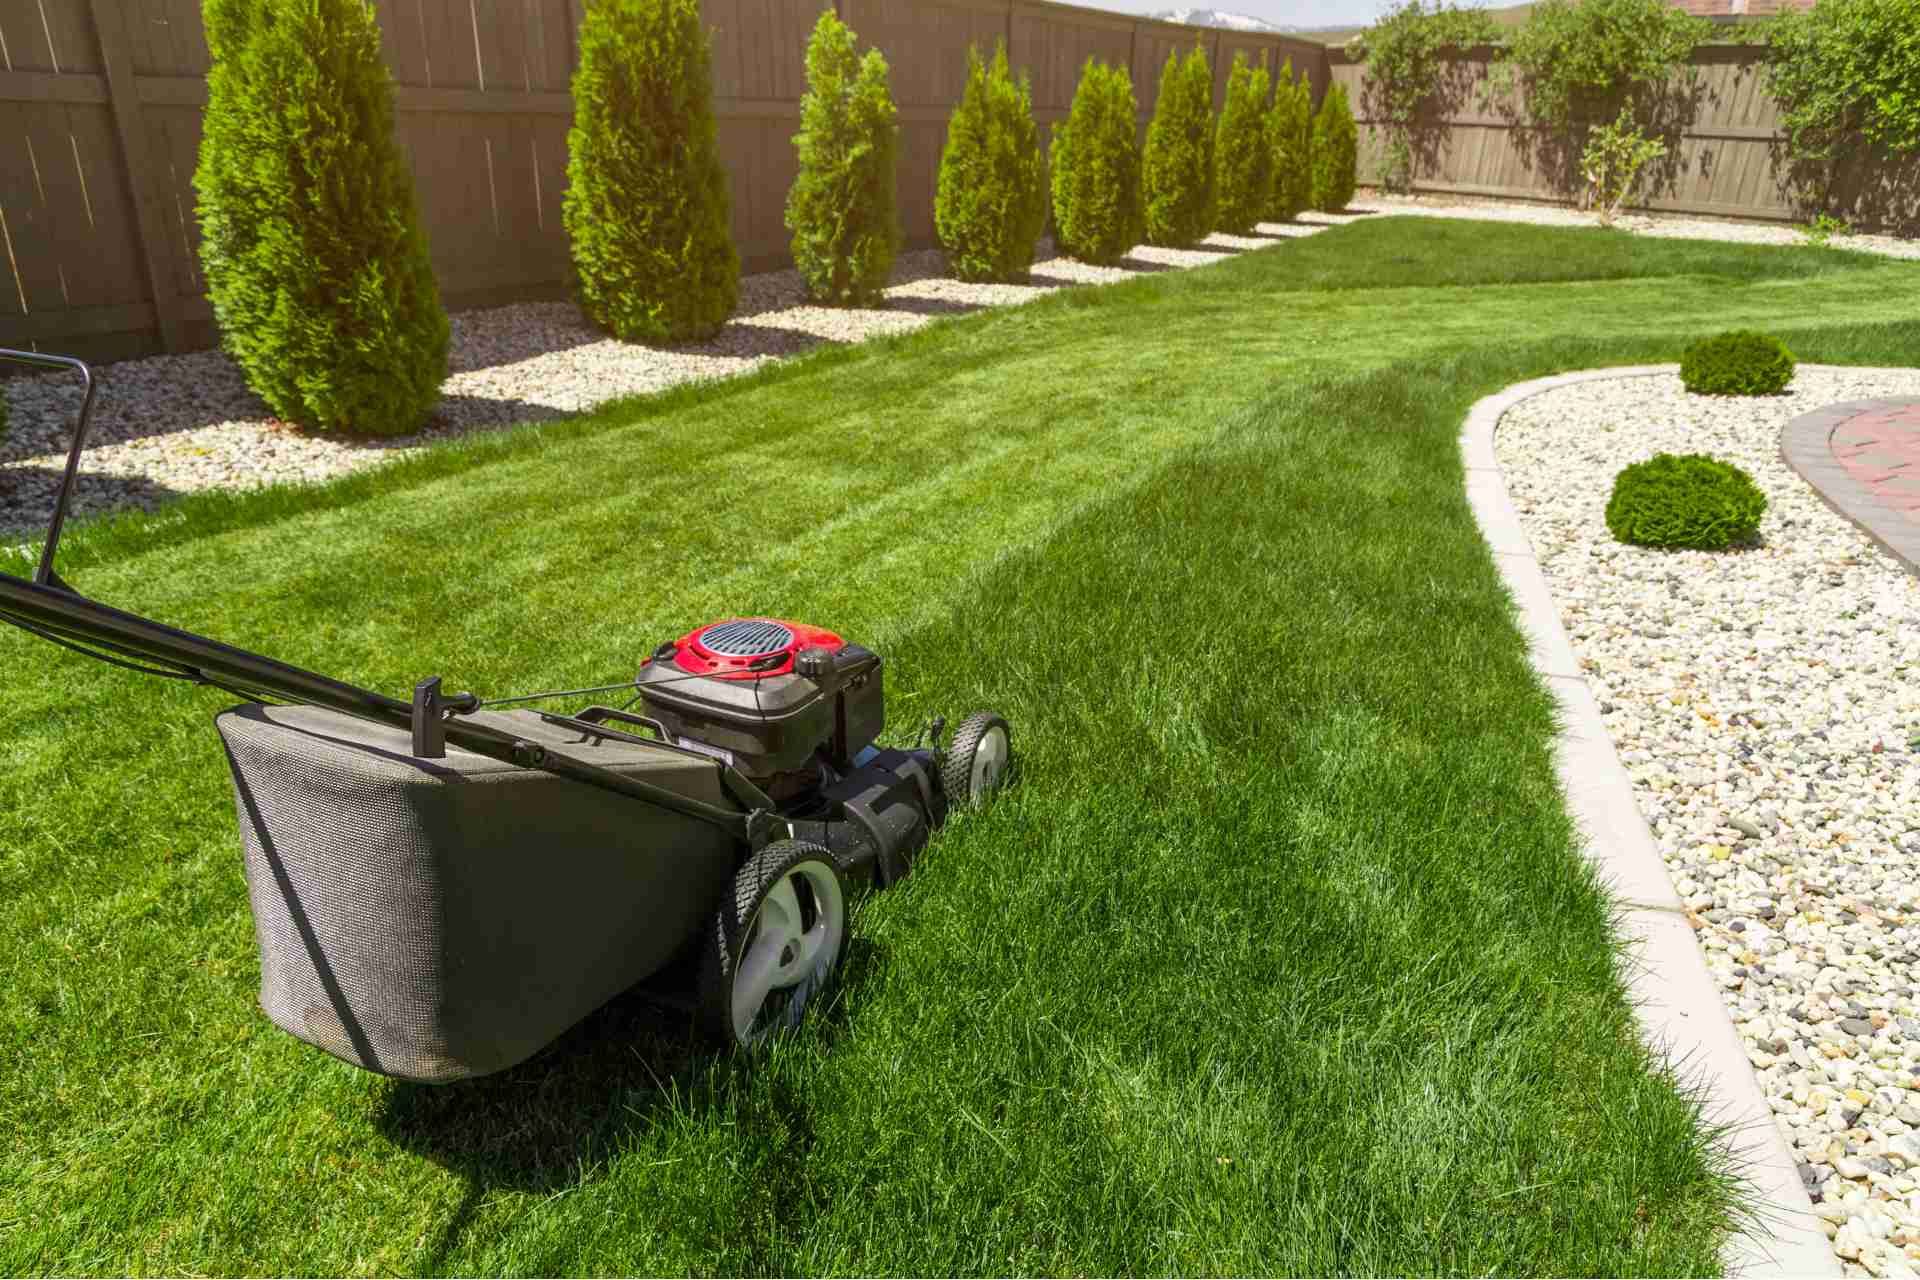
Regular mowing and fertilization will further promote healthy growth.
Enhancing Drainage and Preventing Erosion
To effectively enhance drainage and prevent erosion on your sloped lawn, it's crucial to implement strategic landscaping techniques.
Start by installing terraces or retaining walls to create flat areas that slow water runoff. This helps the soil absorb moisture rather than wash it away.
You can also plant deep-rooted grasses and native plants, as their roots stabilize the soil and improve drainage. Incorporating mulch around plants will further reduce erosion by protecting the soil from heavy rainfall.
Additionally, consider adding a rain garden to capture excess water and promote infiltration.
Regularly inspect your landscape for signs of erosion and adjust your techniques as needed.
Conclusion
In conclusion, tackling sod installation on sloped or uneven lawns may seem daunting, but with careful preparation and the right techniques, you can achieve a thriving landscape. By understanding the challenges, choosing the right sod, and following the installation steps, you’ll set your lawn up for success. Don’t forget to maintain and water your new sod properly to promote healthy growth and prevent erosion. With a little effort, your sloped lawn can become a beautiful, green oasis.